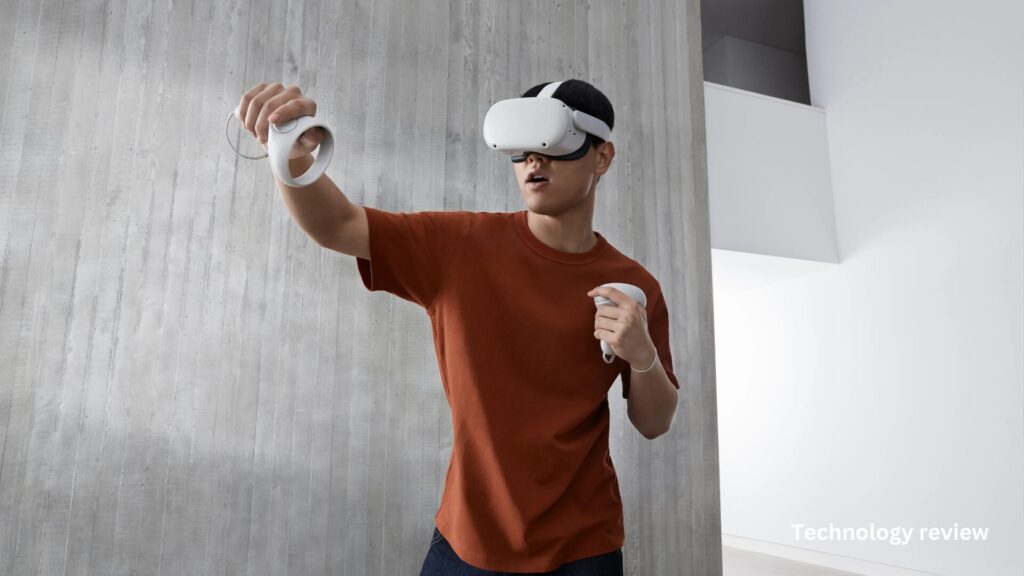
How to Setup the Oculus Quest 2 for an Optimal VR Experience Are you ready to dive into the immersive world of virtual reality? The Oculus Quest 2 offers an incredible VR experience, but proper setup is crucial to maximize your enjoyment. In this guide, you’ll learn how to configure your new Quest 2 headset for optimal performance and comfort. From unboxing and initial setup to fine-tuning your settings, we’ll walk you through each step to ensure you’re ready to explore virtual worlds with ease. Whether you’re a VR novice or an experienced user, these tips will help you get the most out of your Oculus Quest 2 and set the stage for countless hours of exciting gameplay and experiences.
Preparing for Oculus Quest 2 Setup
Before diving into the exciting world of virtual reality, it’s crucial to properly prepare for your Oculus Quest 2 setup. Taking a few moments to ensure you have everything ready will help streamline the process and get you immersed in VR faster.
Gather Your Equipment
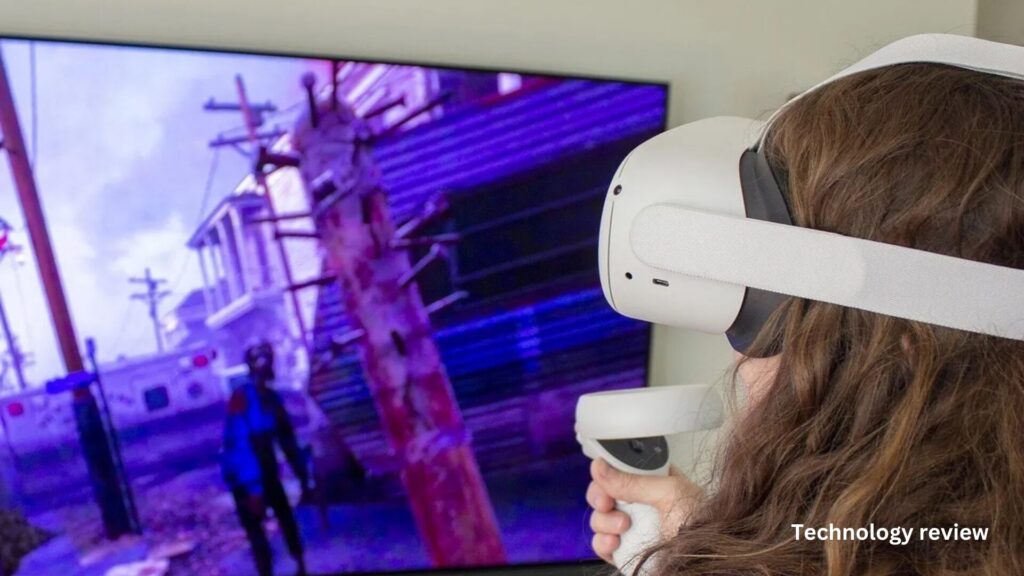
First, make sure you have all the necessary components that came with your Oculus Quest 2. This includes the headset, two Touch controllers, charging cable, and power adapter. It’s also a good idea to have your smartphone handy, as you’ll need it to complete the setup process.
Create a Safe Play Space
Choose a well-lit area with plenty of room to move around safely. The Quest 2 requires a minimum play area of 6.5 feet by 6.5 feet for room- scale experiences. Clear away any furniture or obstacles that could pose a tripping hazard. Remember, you’ll be moving around with your vision obstructed, so safety is paramount.
Charge Your Devices
Ensure your Oculus Quest 2 headset and controllers are fully charged before beginning the setup process. This will prevent any interruptions during the initial configuration and allow you to jump right into your first VR experience once setup is complete.
Download the Oculus App
To streamline the setup process, download the Oculus app on your smartphone before you begin. This app will guide you through the entire setup procedure and is essential for managing your Quest 2 device.
Downloading the Oculus App and Creating an Account
To begin your journey into virtual reality, the first step in how to setup Oculus Quest 2 is downloading the official Oculus app and creating your account. This process is crucial for accessing the full functionality of your device and ensuring a seamless VR experience.
Downloading the Oculus App
Start by visiting your device’s app store (Google Play Store for Android or App Store for iOS) and search for “Oculus.” Look for the official app developed by Meta Platforms, Inc. and tap “Install” to download it to your smartphone.
Creating Your Oculus Account
Once the app is installed, open it and tap “Create Account.” You’ll be prompted to enter your email address, create a password, and provide some basic information. For a smoother setup process, consider linking your Facebook account, though this is optional.
Customizing Your Profile
After creating your account, take a moment to personalize your profile. Choose a unique username and avatar that represents you in the virtual world. This step, while not mandatory, enhances your social interactions within VR applications.
Remember, setting up your Oculus Quest 2 properly from the start ensures you’ll get the most out of your device. The app serves as your central hub for managing your VR library, connecting with friends, and staying updated on the latest Oculus news and features.
Connecting and Pairing Your Oculus Quest 2
Once you’ve powered on your Oculus Quest 2, it’s time to connect and pair it with your smartphone. This crucial step in how to setup Oculus Quest 2 ensures a seamless VR experience. Follow these guidelines to get started:
Download the Oculus App
Before proceeding, install the Oculus app on your smartphone. This app serves as the control center for your Quest 2, allowing you to manage settings, browse content, and connect with friends.
Pairing Process
- Open the Oculus app and select “Pair New Headset.”
- Choose “Quest 2” from the list of devices.
- Follow the on-screen instructions to complete the pairing process.
During this step, you’ll need to enter a code displayed in your headset into the app. Ensure your smartphone’s Bluetooth is turned on for a smooth connection.
Wi-Fi Setup
After pairing, you’ll be prompted to connect your Quest 2 to Wi-Fi. Choose your network and enter the password. A stable internet connection is essential for downloading games, updates, and enjoying multiplayer experiences.
Account Creation and Customization
Finally, create or log into your Oculus account. This account allows you to personalize your VR experience, make purchases, and connect with other users. Take time to set up your profile and adjust privacy settings to your preference.
By following these steps, you’ll have successfully connected and paired your Oculus Quest 2, setting the foundation for an immersive VR journey.
Adjusting the Fit and Lenses for Comfort
To get the most out of your Oculus Quest 2, it’s crucial to adjust the headset for optimal comfort and visual clarity. Here’s how to setup Oculus Quest 2 for the best fit:
Positioning the Headset
Start by loosening the side straps and top strap. Place the headset on your head, positioning the back strap at the base of your skull. Tighten the side straps first, then adjust the top strap for a snug but comfortable fit. The headset should feel secure without causing pressure points.
Adjusting the Lenses
The Quest 2 features an adjustable lens spacing mechanism. To find your ideal setting:
- Remove the facial interface.
- Move the lenses closer together or further apart using the slider.
- Replace the facial interface and put on the headset.
- Fine-tune until text and images appear sharp and clear.
Fine-tuning for Clarity
For the best visual experience, adjust the headset’s position on your face. Gently move it up and down, and side to side, until you find the “sweet spot” where everything looks crisp. This step is crucial in how
to setup Oculus Quest 2 for optimal viewing.
Remember, taking the time to properly adjust your Quest 2 will significantly enhance your comfort and overall VR experience. If you wear glasses, consider using the included spacer for added comfort and to prevent lens scratches.
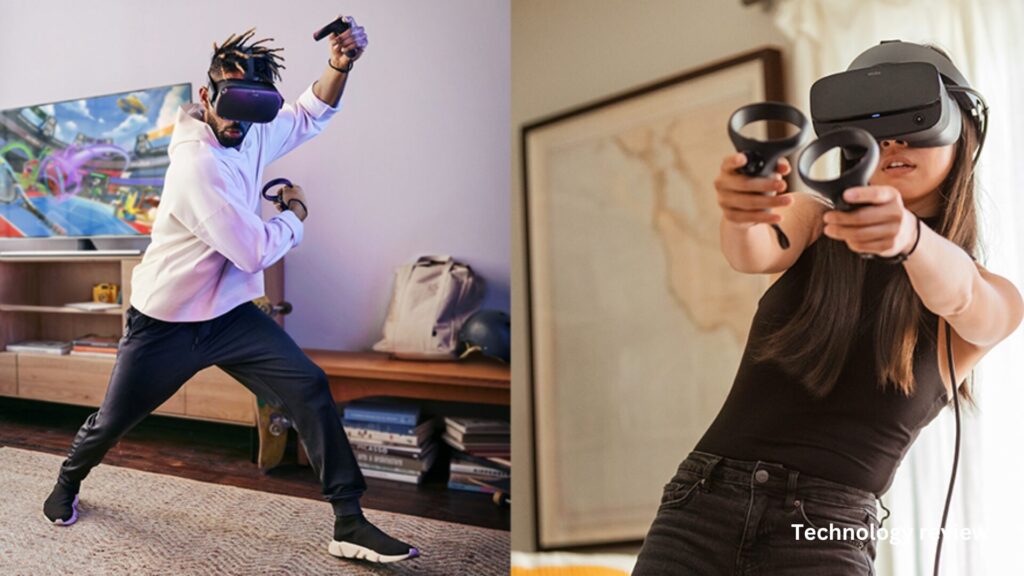
Downloading Games and Apps from the Oculus Store
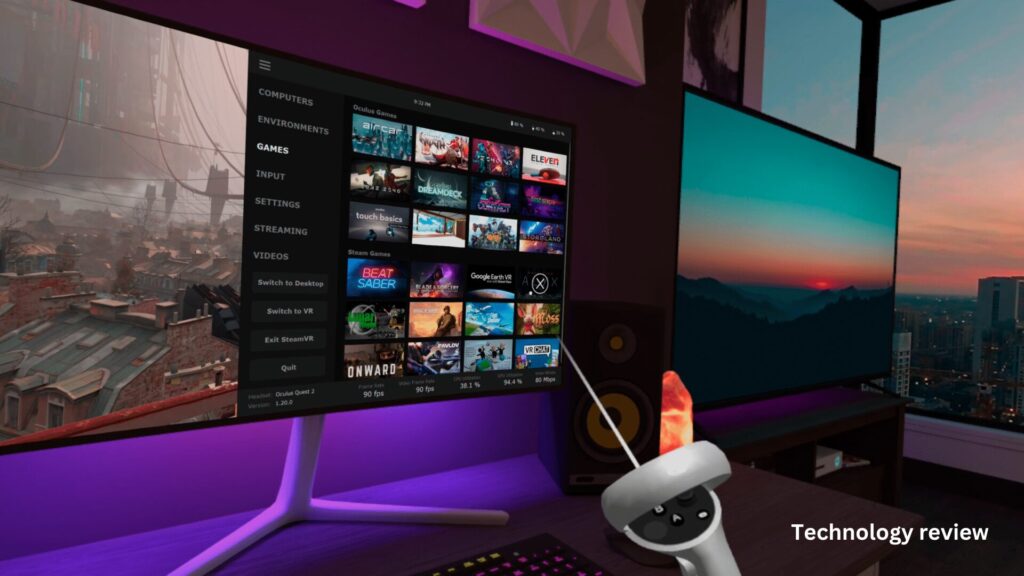
The Oculus Store is your gateway to a vast library of VR content for your Quest 2. Learning how to setup Oculus Quest 2 for optimal gaming includes mastering the art of navigating and downloading from this digital marketplace.
Accessing the Oculus Store
To begin your VR journey, power on your headset and use the Touch controllers to select the Store icon from the main menu. Here, you’ll find a curated selection of games, apps, and experiences tailored for the Quest 2.
Browsing and Purchasing Content
Navigate through different categories or use the search function to find specific titles. Each listing provides detailed information, including price, ratings, and system requirements. When you’ve found something you like, simply click “Buy” or “Get” for free content. Your Oculus account must have a valid payment method for purchases.
Installing Your New Content
After completing a purchase, you Il have the option to install immediately or save it for later. The Quest 2 will automatically begin downloading and installing your new content when connected to Wi- Fi. You can monitor download progress in the Library section of your headset.
Remember, efficient management of your Quest 2’s storage is crucial for maintaining a smooth VR experience. Regularly check your available space and uninstall unused apps to make room for new adventures.
Conclusion
As you embark on your virtual reality journey with the Oculus Quest 2, remember that optimizing your setup is key to a truly immersive experience. By following the steps outlined in this guide, you’ve laid the groundwork for countless hours of exploration and entertainment. From ensuring a comfortable fit to fine-tuning your guardian boundary, each element contributes to a seamless VR adventure. Don’t hesitate to revisit and adjust your settings as needed – your preferences may evolve as you become more familiar with the device. With your Oculus Quest 2 now properly configured, you’re ready to dive into the exciting world of VR. Enjoy your newfound digital realm!

